Replit received $80 million in series B finance during 2021 with a valuation of $800 million. It’s safe to say that they’re the cloud IDE kings, and that’s saying something. The way replit works are by providing users entry to a virtual machine with 1 GB of RAM and 1 GB of storage. This is exactly everything you need to run a simple static website.
Finding Your Way Around Replit
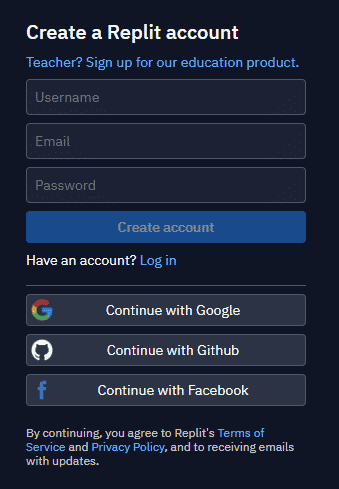
If you’ve never done this before, it might be a bit of a challenge. Set up an account and you’re good to go. Creating a new repl is as simple as signing up for an account.
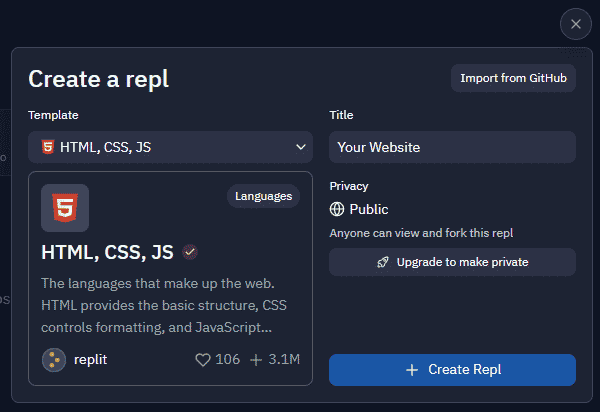
There should be a tab near the top of the left sidebar. There are several templates available, however, for this tutorial, I suggest using “HTML, CSS, JS.” Whatever you choose to call the repl, it doesn’t really matter!
Making your website
Let’s get started with a simple static site. In the event that you don’t already have a website, users are left with 2 options. Just drag and drop the contents from your site to replit’s file tree while in the IDE, and you’ll be good to go! Tap on “Replace” if you get alerts such as this.
Let’s quickly create a static website if you don’t already have one. The following code should be included in your index.html file:
Connecting a domain name
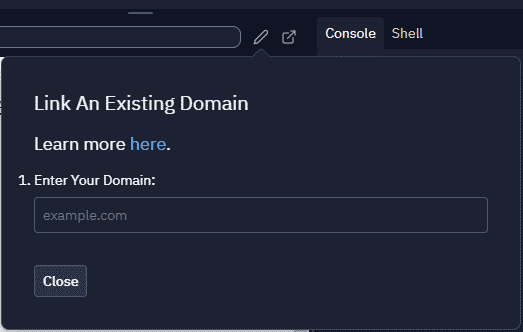
The material for our site is ready, so we may link the domain name we wish to utilize. This may be done by clicking on the edit icon located just above the preview. Pop-up displays like this one will be used:
You may now enter your desired domain name. In order to correctly connect your domain, Replit will provide you with a series of instructions. Adding a CNAME record is required in order for this to operate. In order for the DNS modifications to take effect, you will need to add a CNAME record. So, by then, you’ll have your own website hosted on Replit!